You can find a variety of ceramic containers at most thrift stores, garage sales and outlet stores. Many of them can be used as decorative planters. And they will work fine indoors, as long as you do not over water them. Try using them as planters outdoors on your deck or patio and there is a good chance that rain will drown your plants. Generally, plants do not like soggy roots. Except for a few succulents, most plants will not survive long without good drainage.
So how can you take advantage of cool looking ceramic pots, vases, bowls, candy dishes, punch bowls or whatever if they have no way to drain excess water? The answer is to drill your own drainage holes.
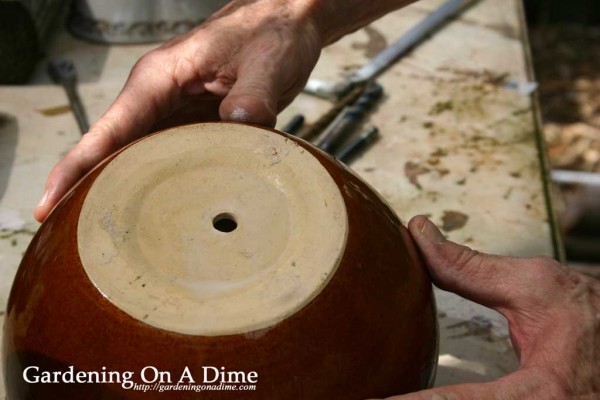
We’ve been drilling our own drainage holes in ceramic, clay and glass containers for several years. Here are a few tips showing you how you put a drain hole in all of those nice containers and not break them.
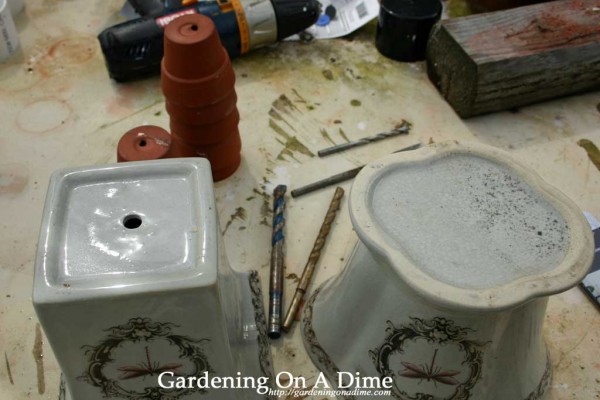
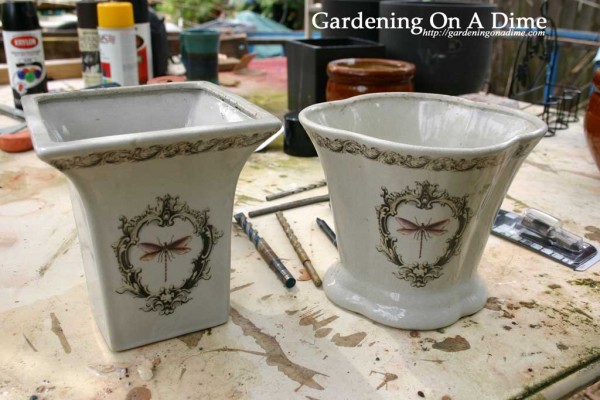 We have tried several styles of concrete, tile, cement and glass bits. (And, no, we don’t use the twist drill or spade bit, as shown in this photo. Those are for our metal and foam/plastic containers.)
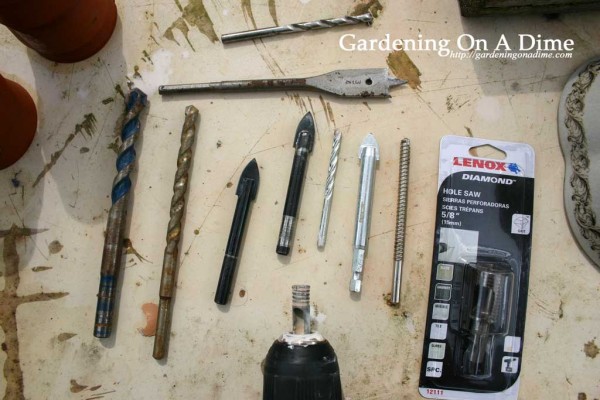 Notice the diamond tip hole saw that I have chucked up in the drill. It is a Hitachi 3/8 diamond core bit. It’s worked well for a few years. But, I wanted a little bit larger hole for this round of drilling. So, today, we are using a brand spanking new Lenox 5/8 diamond hole saw.
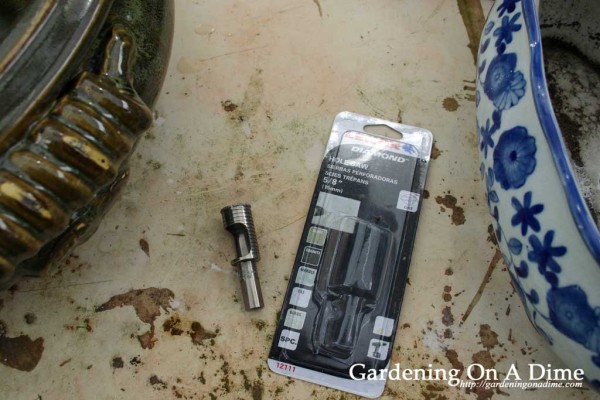 You hear both terms (core bits and hole saws) for bits like these. They bore a ring in the bottom and leave a core intact.
Here are a few tips for drilling your own drainage holes.
Make sure that you keep water on the surface and on the bit. This is a must for keeping the bit cool and effective. This day I was fortunate to have a bunch of containers that had recessed bottoms. A little bit of water from a watering can every now and then worked well. On flat bottom pieces, I dribble a garden hose continuously A garden helper to hold the hose is really handy for this method.
A variable speed drill helps you to maintain control of the drilling angle and speed. Cordless drills take a bit longer but offer more control. Corded drills offer a lot of power, but can be a hassle around garden hoses. (That old electricity and water thing……..again.) I chose the cordless for this project.
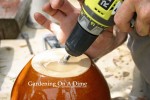
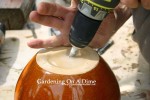
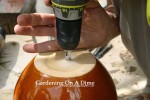
Get the cooling water set up. Then start the drill at a low speed. Lay the bit at a low angle where you want the edge of the hole to be located. Increase the drill speed while maintaining the same position on the pot. (The bit will want to dance around.)
When you feel a groove beginning to bore into the surface, slowly raise the angle of the drill. Slowly but surely you will bore a larger and larger arc into the bottom. When you are completely vertical with your drill, that arc will be a circle and you will be on your way to drilling a drainage hole.
Ease up when you know that you are close to breaking through the bottom. Too much force at that point can lead to cracked and broken pots.
The trick is to be patient and let the bit do the work. Do not try to power your way thru the bottom by putting all of your weight on the drill. Keep the bit cool, apply reasonable pressure and let those diamonds do their job.
After doing lots of these, we have found that the hardness or softness of the containers being drilled varies from one extreme to the other. Some are quick and easy. Some seem to take forever. Is the next one going to be a long boring drilling process. Or will it be a “Ok, here we go….Surprise….we’re done…that was easy!”
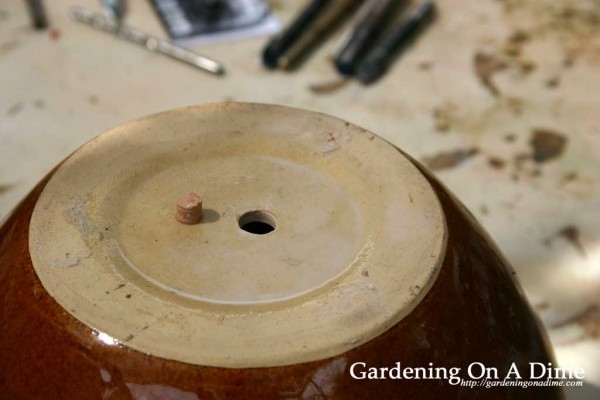
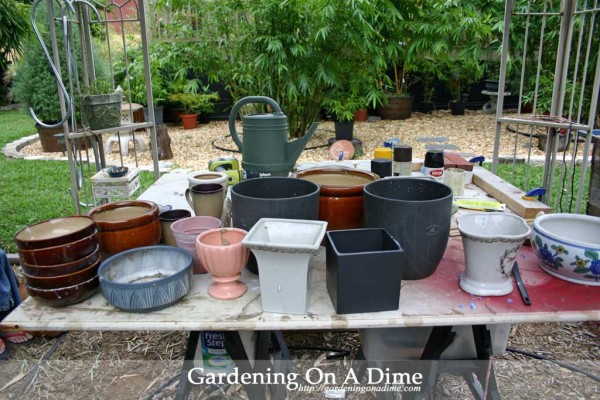 This is most of the collection that we did in one afternoon. All of these were either hand-me-downs, yard sale finds, discount and outlet store deals or gifts. None of them could be used outside for lack of drainage holes. After a good washing, we can use them on the deck, the patio, by the front door or strategically place them throughout the garden.
So, if you find your self with a bunch a really cool looking containers that you would love to use as planters, consider drilling your own drainage holes. Did you notice the large cereal bowls (great for cacti) and the coffee cups (succulents love these)?
Happy Gardening,
Dave and Trish
Thanks for the tip!
Thanks for the great instructions. I used the diamond bit on a pretty glazed chinese style pot and your tips worked great!
Great! So glad we could help. It’s nice that you took the time to let us know. Thanks!
Thank you for the info. I actually drilled the hole before I went looking on the web – with a hand drill and a bit for drilling concrete. I didn’t know to add water. But I went slowly and everything turned out fine. I drilled through an earthenware pot glazed inside and out. But I started to wonder about what happens when the unsealed clay in the hole shaft meets up with the water when the plant is watered. You don’t mention any procedure so am I to assume it is not an issue??
Unfortunately, I cannot tell you if unsealed part from the hole would be a problem. We’ve never experienced any problems with any of our DIY drilled pots (sealed, bare clay, sealed inside, sealed outside, etc.). We have chipped, scratched, and sometime cracked clay pots that survive not being completely sealed. Thank you for raising a very good question. Has anyone else had any problems with home drilled drainage holes?
hi ive never done this b4,?&comment on a site!! ty 4 the great info on drilling the holes in ceramic pots!! my grandson,a bloomin gardener,&i went out&bought the drill bit,soooo excited to do it!!! How do i,or can i drill a hole in a terracotta pot please?! it is tall and i was using it as a spoon holder but i think would look good as a pot!! thank you for your time!! gayle
Yes, terracotta should be no problem. I hope you and your grandson have a great time. And thanks for commenting.
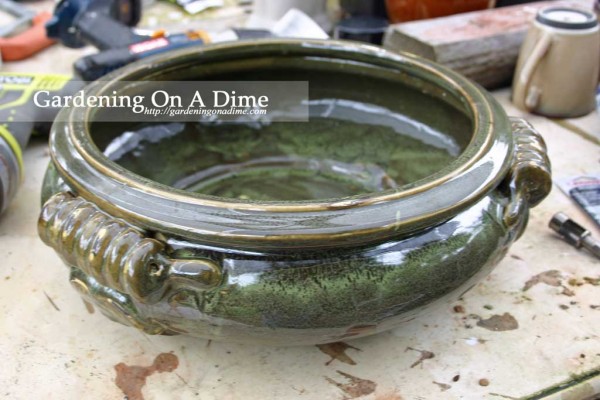
@ Dave,Trish and any one else who can answer this question for me. Hi everyone my name is Sally and I have 2 planters like The green planter you called “Two Dollar Planter for Bonsai or Cacti” but they are clear glass and what I wanted to know is can these also have holes drilled into them if so where can I find the right Drill Bit, what size should I use and what would be the average coast for this type of Drill Bit or should I just try another way. Any and all suggestions are welcome. Thanks in advance Sally
Hi Sally,
Thanks for writing.
Glass can be intimidating. But the same principles remain as with ceramic pots. Go slow, apply light even pressure and keep the bit wet. A 3/8 or 1/2 bit like the Hitachi that we used works fine. The key is the diamond tip. Plan on spending the better part of a twenty to get a good bit.
Have fun……….Good Luck!
Great post. We had a couple of cheap stainless pots that burned on the bottom any time we used them… now they are… you guessed it… pots.
One thing that also worked for me on touchy items like ceramic and glass: using a little hand-cranked drill. Not good for big holes, but little ones worked well without cracking.
The collection you have certainly looks a lot cooler than boring store-bought pots – and it’s certainly a lot cheaper to re-cycle cast offs and thrift store finds.
I love having stainless pots. We came into an old stainless teapot last year. It even came with an beat up spider plant inside. Almost dead from neglect, a little water and the spider grew back to full size, sending out pups to hang over the sides of the pot. You can’t buy that kind of coolness at the store.
To add to the collection to be drilled, last weekend, I found a plastic bin full of those large oversize coffee cups in all sorts of colors and designs. They were supposed to go out for our garage sale, (you know…clean out, don’t bring in) but I couldn’t do it. Then again, I can’t throw out plants either.
Thanks for sharing the tip about the hand drill……great safe idea!
AND……thanks for visiting and sharing your thoughts.:)
Excellent info! I have often wondered how to drill a hole in some planter that would have been perfect if only it had drainage. I did not know you have to keep the drill bit cool with water. But it makes sense, because I do know one has to use a wet saw to keep things cool when cutting ceramic or porcelain tile.
The keys are patience and water. Patience to let the tools do their job. And water? Well, it can make for a sad short day if you burn up the bit before getting the 1st hole drilled. Thanks for the thumbs up!
What a cool collection of pots you’ve got. Thanks for the great how-to!
Thanks for the comment and the compliment. I noticed this weekend that we have already gathered enough to do another round of drilling. Colorful pots are so much nicer than using plain black nursery pots for everything.