Relocating a greenhouse can be daunting, even if you move locally. However, you can make this process smooth and successful with the right preparation and knowledge. Regardless of its size, careful planning and execution are essential. In this guide, we’ll walk you through the steps to prepare your greenhouse for relocation. These steps will ensure your plants and structure arrive safely at their new home and allow you to embrace new beginnings through gardening.
Assess the New Location
If you want to preserve your garden when moving away, you must assess the new location where your greenhouse will be set up. Ensure the site receives adequate sunlight, has good drainage, and is free from hazards like strong winds or falling debris. Check the soil quality if you plan to plant directly in the ground, and ensure easy access to water and electricity.
Plan the Move
To prepare your greenhouse for relocation, you need a well-thought-out plan. Determine the best time for the move, ideally during mild weather when your plants are not under stress from extreme temperatures. Create a timeline for each process step, including dismantling, transportation, and reassembly. That will help you stay organized and ensure that nothing is overlooked.
Inventory Your Plants
Taking an inventory of your plants is an essential step. Categorize them by size, type, and care requirements. Then, you can decide which plants can be temporarily moved to pots and which can remain in their current containers. Label each plant with its name and specific care instructions to make replanting at the new location easier.
Prepare Your Plants
Preparing your plants for relocation is a delicate process. Start by trimming back any excess foliage and removing dead or diseased leaves. Water the plants thoroughly a day before the move to reduce stress and ensure they have enough moisture during transportation. Consider using plant covers or wrapping them in a lightweight fabric for particularly sensitive plants to protect them from damage.

Dismantle the Greenhouse
Dismantling your greenhouse requires careful attention to detail. Begin by removing all the plants, tools, and accessories. Disassemble your greenhouse, starting from the roof and working your way down. Keep all the parts organized and labeled to make reassembly easier. Pay special attention to any glass or polycarbonate panels, wrapping them securely to prevent breakage.
Pack and Transportation
Securely packing your greenhouse components and plants is crucial for a successful move. Use sturdy boxes and containers for small parts and tools. For larger items, like the frame and panels, use protective padding and secure them with straps or ropes. Likewise, you should hire local movers who specialize in handling fragile items. These professionals will know how to transport all your plants to the new location safely.
Prepare the New Site
Once you arrive at the new location, it’s time to prepare the site for reassembly. Clear the area of any debris and level the ground if necessary. Set up any necessary infrastructure, such as water lines and electrical outlets. It’s also good to lay down a weed barrier to prevent unwanted growth around your greenhouse.
Reassemble the Greenhouse
Reassembling your greenhouse is the reverse of the dismantling process. Start with the frame, ensuring it’s level and secure. Then, install the roof, walls, and the doors and windows. This process should go smoothly if you’ve labeled all the parts correctly. Take your time to make sure everything is properly aligned and secured to avoid issues later on.
Replant and Arrange
Once the greenhouse structure is in place, replanting and arranging your plants is next. Begin with the larger, more established plants and work your way to the smaller ones. Plants should be placed according to their light and temperature needs, taking advantage of the different microclimates within the greenhouse. Of course, you can also consider plant combinations that add color to your greenhouse. Remember to water them thoroughly after replanting to help them settle into their new environment.

Final Checks and Adjustments
Conduct a final greenhouse check once everything is in place and your plants are settled. Ensure that all components are securely fastened and that there are no leaks or gaps. Test all the systems, including irrigation, heating, and cooling, to ensure they function correctly. Adjust to ensure your greenhouse operates efficiently and effectively in its new location.
Embrace the New Environment
As your greenhouse settles into its new environment, take the opportunity to embrace the changes and adapt your gardening practices accordingly. Each location offers unique advantages and challenges, so be prepared to experiment and learn what works best in your new setting. Observe how different plants respond to the new climate, soil, and light conditions, and adjust your care routines as needed. Engage with local gardening communities or online forums to gather insights and tips for your area.
By staying curious and flexible, you’ll ensure the health and productivity of your greenhouse and expand your gardening knowledge and skills, making the most of your new horticultural adventure.
Final Thoughts on How to Prepare Your Greenhouse for Relocation
Relocating a greenhouse is a complex process that requires careful planning and execution. By following these steps and taking the time to prepare your greenhouse for relocation, you can ensure a successful move. Remember to stay organized and attentive to the needs of your plants. With the right approach, your greenhouse will thrive in its new location, providing you with a bountiful and healthy growing environment for years to come.
Author’s bio: Jane Harkings is a relocation specialist at Mod Movers Monterey, a well-known moving company. Jane is dedicated to providing expert advice and seamless moving experiences. With years of experience in the industry, she specializes in unique and complex relocations.
Photo Credits:
Featured Image
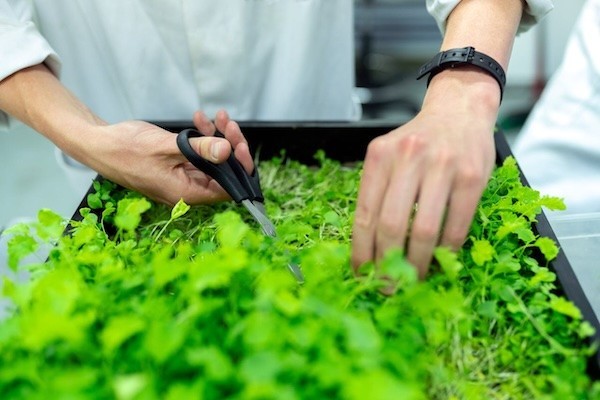
Person snipping plants with scissors
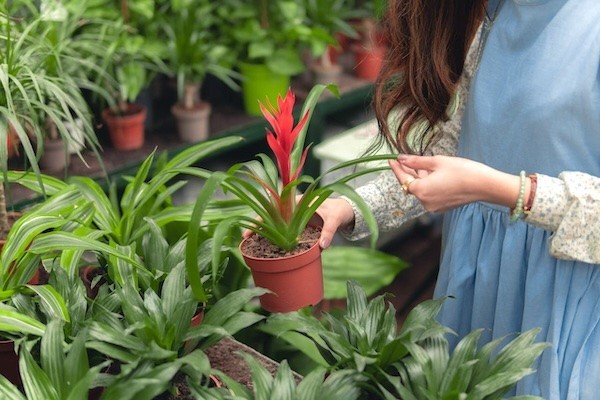
A woman holding a flower pot
