This is the first of a series of posts about making your own garden stepping stones, pavers and hypertufa containers. We have dabbled in the past with using concrete mix, sand and colorants in our own homemade and recycled molds. This time, we are using molds from Mold Creations.
Preparation is the key to making this an enjoyable project. We will address the components and safety equipment that are needed in the next post. Remember that this is a learning project as well as a fun project. And, boy, are we ever learning. If you have worked with concrete, then some of you might find this amusing as we try to teach ourselves what works and what doesn’t work when making concrete pavers.
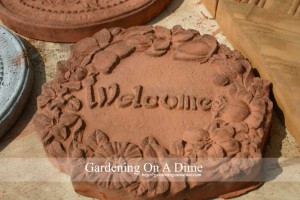
These pavers came out so-so with some pitting (correctly called ‘bug holes’) from air bubbles (more on that in a future post) and variances in color. But, like we said, this is a learning project. You might find yourselves going down the same path, so keep an open mind when you pop your new creations out of their molds. With each batch we have made changes in our process, resulting in better stepping stones and pavers.
There are hundreds of recipes and as many methods for making these. They can be painted, sealed, given a wet look or left looking natural. Whatever your intended application, there is a finishing method that will suit you. One book that we found very useful is Creative Concrete Ornaments for the Garden: Making Pots, Planters, Birdbaths, Sculpture & More
by Sherri Warner Hunter.
What you see below are the results after two hours or so of three adults playing with concrete.
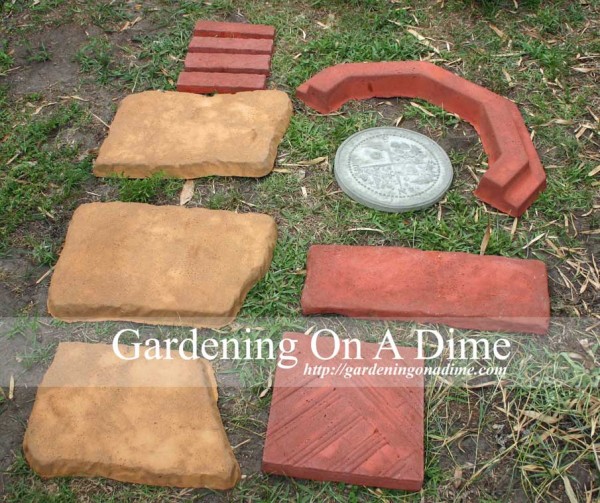
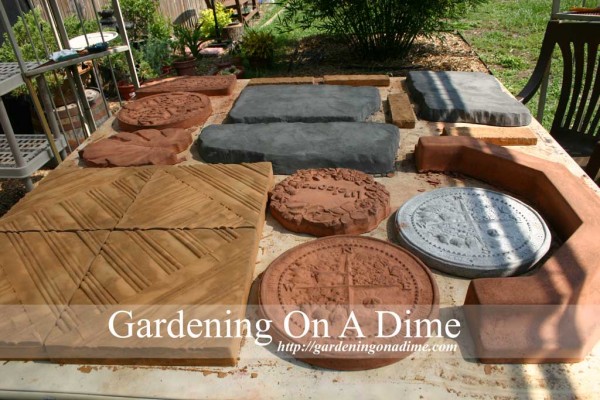
This day was spent making a few pieces mostly to learn the feel for the mix and to see what colors were worth repeating.
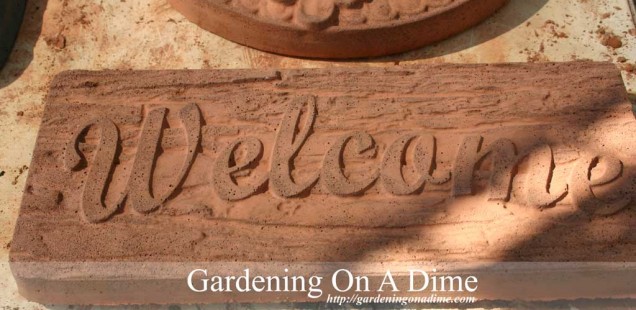
This “welcome” stepping stone that can easily be adapted to a plaque.
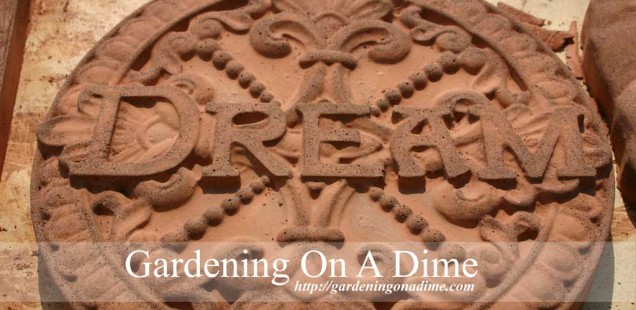
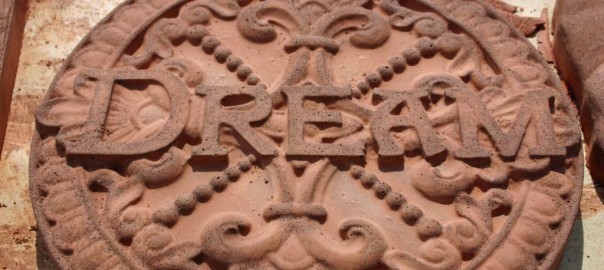
This “dream” stepping stone has become one of the favorites.
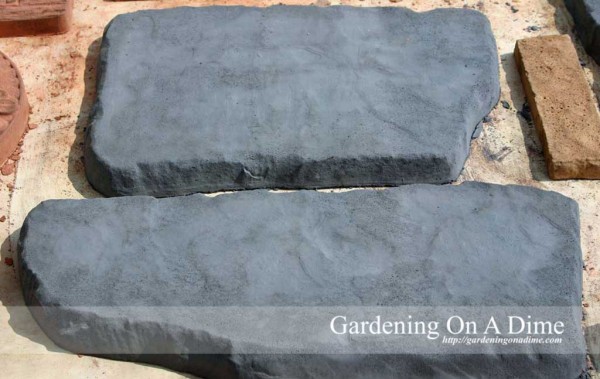
These black “flagstones” will become part of a seven piece set that we have planned for a garden path.
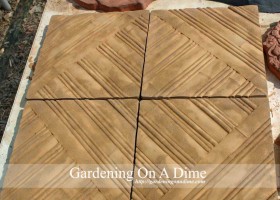
And, these “bamboo” pavers are going to be made in mass for a patio.
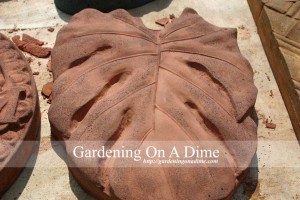
This “philodendron leaf” stepping stone is just the right size to sit in your flower bed at that spot where you need to step in and reach to the back.
We are quite confident that by the time we are finished with this series of posts that we will have made our own nicely finished, sealed and possibly painted backyard stepping stones, along with some paver sets for our garden paths. (I’m sure that some hypertufa containers will be made as well.) Our hope is that this series will give some insight to all of you out there who, like us, are interested in making your own concrete projects. After watching us, maybe you will want to try a few for yourself.
As always, we welcome any comments and suggestions. Please tell us about your experiences and we will try to use your tips and publish the results.
Happy Gardening
Dave and Trish
From where did you buy your stepping stone molds; in particular, the dream one?
Thanks! All you stones are great.
Dave, I am really interested in your “bamboo” pavers. I like the look for a walking path in my backyard. Do you think a border tile is necessary when making a walkway in the yard?
Lisa,
A border tile is not necessary for a garden path. We have placed several of our stepping stones in different areas of our yard with no issues. The larger the stepping stone, the more stable they are in the ground. If you were doing brick I would recommend a brick border. But more important than the edge tile might be that if you are running a continuous path of the bamboo pavers, you might need to use landscape edging (the kind used for bricks) . Just like the edging that would be used for a bamboo paver patio. But for a garden walkway, unless you have an erosion problem, placing them on bare dirt should work just fine.
Thanks for asking the question.
Dave
Wow, you really made all of these?! These are great! They’re even better than what you can find in stores! How long does it take to make just one?
We never have really timed making just one. Once you mix up a bag of concrete, you need to just keep pouring into molds until the mix is all gone. One bag can fill 3 to 4 molds.
Thankyou for a very informative blog, the information is very useful.
hypertufa fountains
You’re welcome.
I’ve done a few of these. This post makes me want to give it another try.
Thanks!
You’re welcome. Setting up some portable shade will make it a lot more enjoyable.
sweet! what the heck is a hypertufa?
Thanks for the comment. The simplest definition of hypertufa is that it is a lightweight mixture of concrete and vermiculite or perlite that is used to make planters, water troughs or other garden sculptures, resulting in an aged appearance.